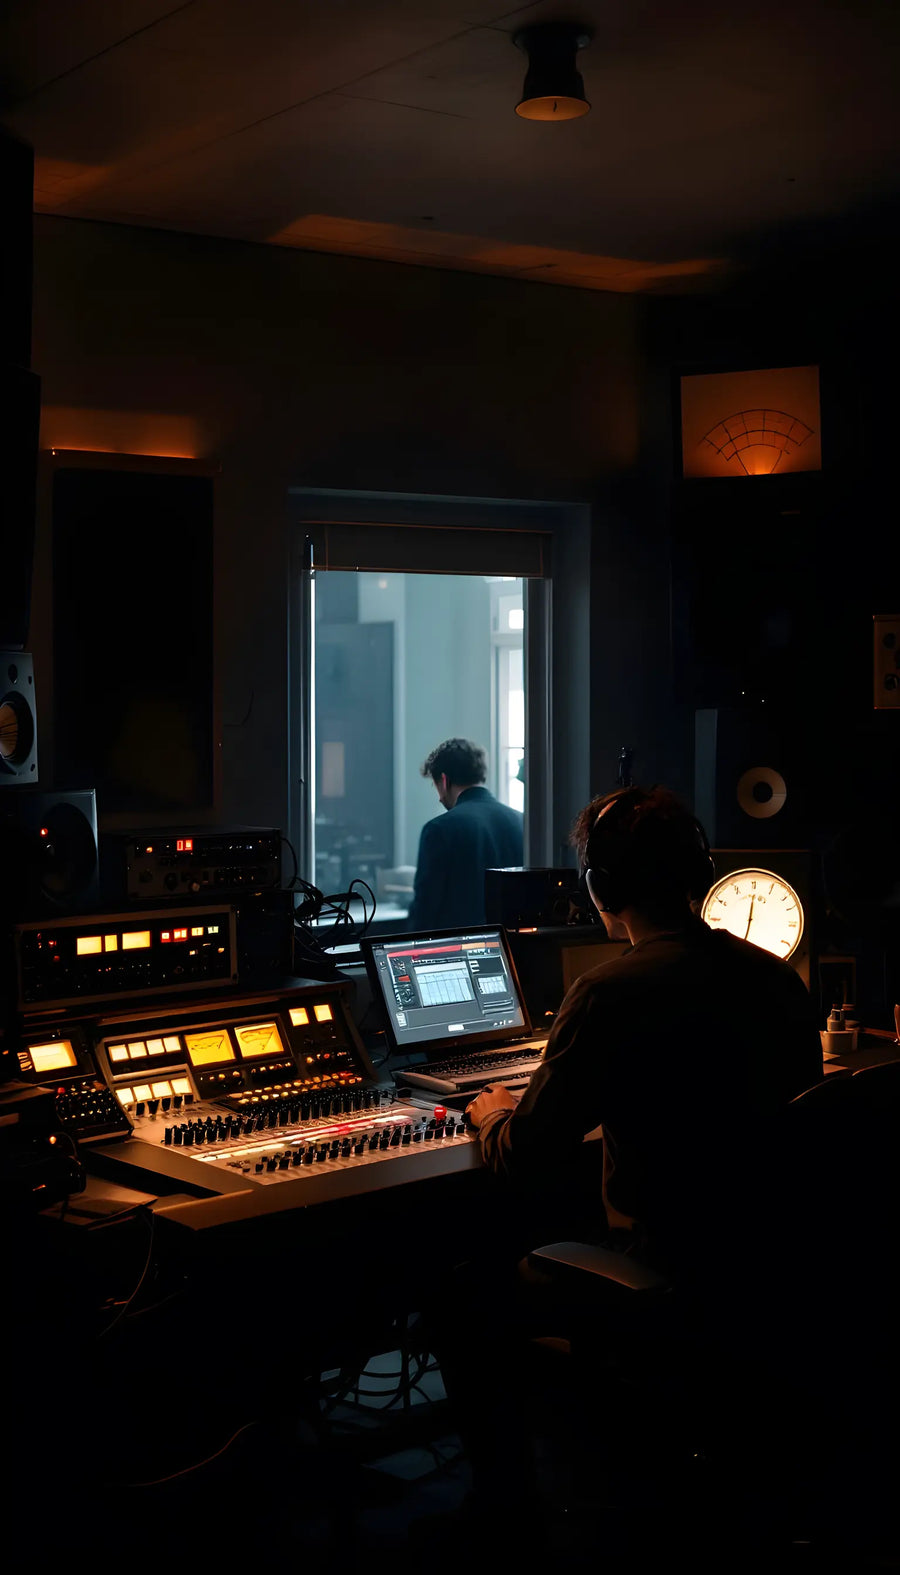
Home Studio Vocal Mixing Guide That Works

That moment when the beat sounds hard but your vocal drops in and suddenly everything feels small, muddy, or cheap - that is where most home recordings fall apart. A solid home studio vocal mixing guide is not about throwing ten plugins on a track and hoping for magic. It is about making a few smart moves in the right order so your vocal feels clear, controlled, and ready to sit on the beat.
If you record in a bedroom, closet, or untreated corner of your apartment, good news: you do not need a big studio to get a strong vocal mix. You do need a clean workflow. Most bad vocal mixes come from two things - a weak raw recording and overprocessing. Fix those, and the results improve fast.
The real goal of a home studio vocal mixing guide
Most beginners chase a "perfect vocal" in solo. That is usually the wrong target. The vocal only wins if it works with the instrumental. A bright vocal that sounds amazing alone can feel harsh in the full song. A warm vocal can sound rich by itself and disappear once the 808 and synths come in.
So the job is not to make the vocal impressive on its own. The job is to make it feel expensive inside the record. That means keeping the vocal upfront without making it painful, controlled without sounding flat, and polished without killing the emotion.
Start before the mix even starts
A clean vocal mix begins at recording. If your raw take is clipped, buried in room reflections, or full of mouth noise, mixing turns into damage control.
Get close to the mic, but not too close. Usually 4 to 8 inches works well with a pop filter. Record in the quietest space you have, and kill obvious reflections with blankets, clothes, or soft furniture if you need to. You are not trying to build Abbey Road. You are trying to stop ugly room sound from getting printed into the take.
Watch your input level too. If you record too hot, the vocal gets crunchy in a bad way. Too low, and noise becomes a bigger problem later. Aim for healthy levels with headroom. You want a strong signal, not a red light.
Clean up the vocal first
Before EQ, compression, or effects, clean the track. This part is not glamorous, but it matters.
Cut obvious silence between phrases if the room noise is distracting. Remove clicks, pops, and ugly breaths when they pull attention. Do not erase every breath, though. Some breaths help the performance feel human. If you strip all of them, the vocal can start sounding weirdly lifeless.
Timing matters here too. If doubles, ad-libs, or stacks are messy, no plugin chain will save the blend. Tight edits make even simple processing sound better.
EQ: cut what hurts, keep what sounds like you
In any home studio vocal mixing guide, EQ gets overcomplicated fast. Keep it practical. Your first EQ move is usually subtractive, not additive.
Start with a high-pass filter to remove low-end rumble that does not belong in a vocal. Do not push it so high that the voice gets thin. Then listen for mud, boxiness, or harsh frequencies. Mud often lives in the low mids. Boxiness can show up in that small, trapped-room area. Harshness often jumps out in the upper mids.
Make small cuts and trust your ears. A vocal can go from cloudy to clean with just one or two smart reductions. Boosts can help too, especially for presence or air, but this is where people go too far. If your vocal needs huge boosts to sound alive, the recording or arrangement may be the bigger issue.
Compression: control the level without crushing the life out of it
Compression is what helps the vocal stay steady and present. It can also flatten the whole performance if you hit it too hard.
The basic goal is simple: tame the loud peaks and bring up quieter words so the vocal feels more consistent. For rap and pop vocals, stronger compression is common because the vocal needs to stay locked in front. For emotional singing, you may want a little more movement left in.
Attack and release settings matter more than people think. Fast settings grab everything, but can make the vocal feel pinned down. Slower settings let more transients through, which can sound more natural. There is no one-size-fits-all setting because every voice and genre behaves differently.
If one compressor is doing too much, split the job. A lighter compressor first and another one later can sound smoother than smashing the track with one plugin.
De-essing: fix the sharp stuff without dulling the vocal
Sibilance is one of the fastest ways to make a home vocal sound amateur. Those harsh S and T sounds jump out even more after compression and top-end boosts.
A de-esser helps control that range, but do not overdo it. Too much de-essing gives you a lispy, blanket-over-the-mic sound. The move is to tame the painful peaks, not erase all articulation.
This is also where monitoring tricks you. If your headphones are already bright, you might under-de-ess. If your speakers are dark, you might overdo it. Check your vocal on more than one playback setup if possible.
Saturation and tone: the shortcut to thicker vocals
If your vocal sounds clean but still feels small, a little saturation can help. This adds harmonic content, which can make the vocal feel denser, warmer, or more forward.
The keyword is little. A subtle amount can make a vocal feel finished. Too much and it gets gritty, harsh, or fake. This is especially true in home studios where the raw recording may already have some edge from the mic, interface, or room.
A lot of creators waste time stacking random plugins when what they really needed was a clean chain with EQ, compression, de-essing, and a touch of saturation. Simple usually wins.
Reverb and delay: create space without pushing the vocal back
Effects should support the vocal, not bury it. Reverb is the classic trap. It sounds pretty in solo, then suddenly your vocal feels far away and washed out in the full mix.
Shorter reverbs usually work better if you want an upfront modern sound. Delays often keep a vocal feeling bigger without shoving it into the background. That is why a lot of polished mixes lean on delay for width and movement, then use reverb more carefully.
You can also automate effects. Let the verse stay tighter and drier, then give key words or transitions more space. That makes the mix feel more expensive without cluttering every line.
Vocal levels beat fancy plugins
A great vocal chain still fails if the vocal rides the beat badly. Level automation is one of the most overlooked skills in a home setup.
If certain words disappear, bring them up. If a phrase jumps out too hard, pull it down. Compression helps, but manual level moves make the vocal feel intentional. This is how you keep energy consistent without over-compressing the life out of the performance.
The same goes for doubles and ad-libs. If they are too loud, they fight the lead. Too quiet, and they do nothing. Their job is support, not chaos.
A faster home studio vocal mixing guide for real-world sessions
If you want results without spending all night tweaking, use a repeatable order: cleanup, EQ, compression, de-essing, tone, then space. That order is not a law, but it works in most sessions because each move sets up the next one.
This is also why presets can be a huge time-saver when they are built right. Instead of guessing your way through stock plugins, you start with a chain designed to push a vocal toward a finished sound fast. That does not remove the need to listen, but it cuts out a lot of the trial and error that kills momentum. For creators who care more about making songs than studying engineering for months, that matters.
When the vocal still does not sit right
Sometimes the problem is not the vocal chain. It is the beat.
If the instrumental is packed with bright synths, wide pads, heavy low mids, and a loud snare, there may be no room left for the vocal. In that case, stop trying to force the voice louder and look at the arrangement. Small cuts in the beat can create more space than endless boosts on the vocal.
And sometimes the answer is brutally simple: re-record it. If the take has bad tone, weak energy, or too much room sound, a better performance will beat more processing every time.
The mix should feel fast, not confusing
The best vocal mixes in home studios are usually not built on secret sauce. They come from clean takes, a smart chain, and decisions made with the whole song in mind. If your workflow is simple enough that you can move quickly and still trust what you are hearing, you are already ahead of a lot of creators.
Your vocal does not need to be complicated. It needs to hit. Start with fewer moves, make each one count, and let the song tell you what the voice actually needs.